Create Your Own NFT: Minting an NFT Explained
How do you get started with NFTs? How do you make your own unique piece? How do you turn your asset into an NFT? We've broken it down into simple steps so you can quickly understand and take an active part in this expanding industry.

What if you were told that you could profit from a simple hobby like painting, writing a poem, or creating a meme simply by selling it as an NFT?
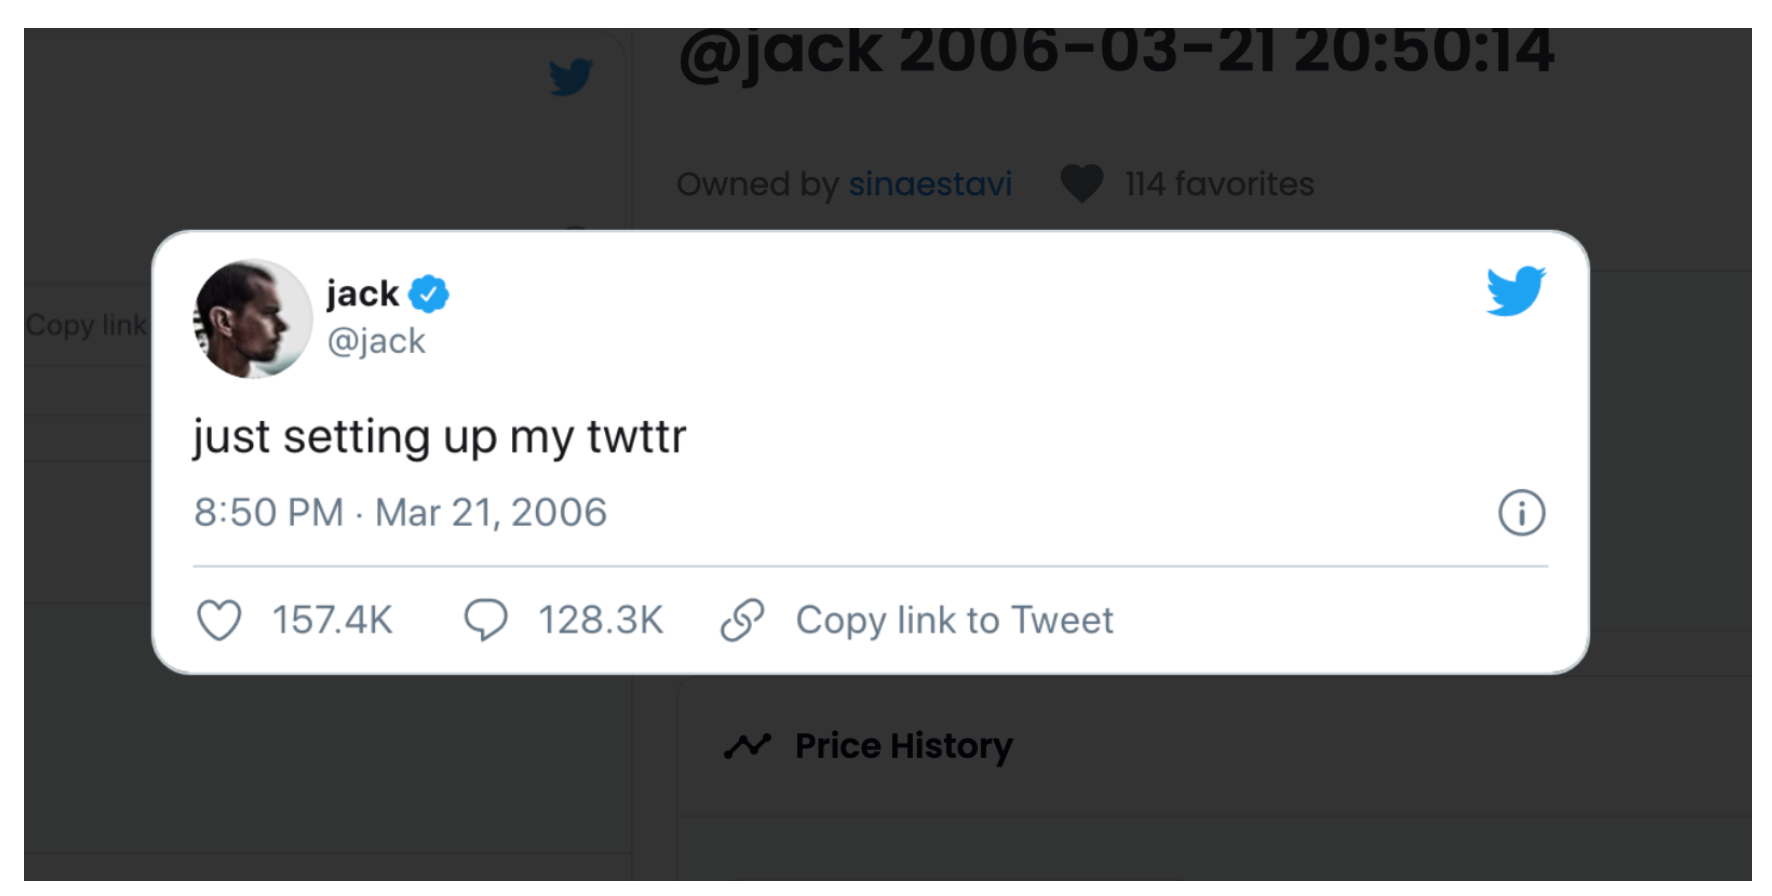
A simple tweet by Jack Dorsey in 2006 of only five words (just setting up my twttr) sold for $2.9 million as an NFT. Yes, it was only a tweet!

After seeing this, the question on your mind is, "What exactly is this NFT?"
To explain the concept of NFT in its most straightforward way, consider the famous Mona Lisa painting. Of course, anyone can make a replica, even if it is very close to the original. But there is only one authentic painting, and the painting collector is aware of this.
Similarly, an NFT (Non-fungible Token) is a digital certificate of authenticity that binds ownership to unique physical or digital assets, such as art, real estate, film, or music. At the most basic level, digital assets such as video clips, tweets, memes, GIFs, or any digital image can be embedded with an NFT, which serves as an electronic identification that certifies ownership.
How do you get started with NFTs now that you know them? How do you make your own unique piece? How do you turn your asset into an NFT? Don't be alarmed if this appears to be a lot; we've broken it down into simple steps so you can quickly understand and take an active part in this expanding industry.
What do You Need To Get Started?
NFT is a way to identify a digital product created on the internet in a unique, secure, and identifiable way. Unlike other forms of cryptocurrencies that may be exchanged for another cryptocurrency, thus making it fungible.
NFTs, on the other hand, are one-of-a-kind items that cannot be copied or duplicated.
However, you don't need to be an expert in crypto to create NFTs. Instead, you can begin by following these simple steps.
You need to understand some terms used in the NFT space to get started.
NFT Marketplace – NFT marketplaces are online platforms that allow NFTs to be stored, purchased, sold, or minted.
Buyers – People purchase digital collectibles to resell them for a higher price. It's similar to physical-world trading, where you try to profit from buying an item and reselling it.
Mint – In the NFT space, to mint means to produce something for the first time. Minting is the process of creating a new NFT. Minting an NFT is how your digital art becomes a part of the Ethereum blockchain–an immutable and tamper-proof public ledger.
How to Create NFTs?
Step 1 – Have a crypto wallet that will hold your cryptocurrencies and other digital assets.
This wallet allows you to mint NFTs, pay fees, and receive cryptocurrencies as payment if you sell your NFTs. After configuring your wallet, the next step is to link it to an NFT marketplace. There are numerous marketplaces where you can create your NFT, but the most popular is Opensea.
Let's get started now that you have your wallet and have decided on a marketplace to create your NFT.
Step 2 – Create your unique digital asset.
Before learning how to create NFT, you must first identify the unique digital asset you wish to tokenize. It can be used as a painting, an article, an image, a meme, a GIF, or any other digital assets peculiar to you.
However, keep in mind that NFT is a one-of-a-kind asset that can only have one owner at a time. As a result, creating a rare and valuable asset is critical.
Step 3 – Choose a marketplace.
After you have successfully created your artwork for your NFT, the next step is to choose the marketplace where your asset on the blockchain will be stored, displayed, and sold.
Here are lists of NFT marketplace to choose from;
- Rarible
- Mintable
- Solsea
- Magic Eden
- OpenSea
- SuperRare
- Foundation
- Nifty Gateway
- Axie Marketplace
- Gatsby Club NFT
- Larva Labs/CryptoPunks
Numerous NFT marketplaces are available across all blockchain networks, including Ethereum, Solana, Polygon, Cardano, Binance Smart Chain, and many more.
Each marketplace has its method for creating NFTs. However, the majority of the steps outlined here will apply to all markets in some way.
Step 4 – Connect your wallet with the marketplace.
To begin, in the upper right corner of any marketplace, click the wallet symbol or the "Create" button. Then, depending on the wallet, you'll be asked to link it with a QR code scanner on your smartphone or download it to your computer. Finally, your cryptocurrency wallet will be linked, and your marketplace profile will be created when you're done. Then, you can complete the other section of your profile thoroughly.
Step 5 – Transfer Crypto to your wallet.
Depending on the marketplace blockchain network you choose, you'll need to transfer a crypto asset from your exchange to your wallet. As a result, the blockchain’s native token will be used as a network fee to pay miners. You can send cryptocurrency to a wallet with a public address using any exchange. When you open your wallet plugin in the browser, you will be able to see the public address of your wallet.
Remember, you can always send and receive your blockchain’s native token on the CCTip wallet.
Step 6 – Submitting your digital file (Minting)

The NFT marketplace will provide simple instructions for submitting your digital file. The complexity is reduced because various platforms are involved in simplifying the process. This is known as NFT minting, and it is the process of converting your digital artwork into a non-fungible token that can be sold. The NFT minting process transforms an ordinary digital file into a blockchain digital asset. Once a digital file is registered on the blockchain, it is impossible to delete or modify it.
To mint an NFT, locate the create button. Next, you will be directed to a website to upload your NFT. After you've named and uploaded your NFT, scroll down and click the Create button.
Your NFT will then be listed on the marketplace.
Step 7 – Listing your NFT.
After a successful minting process, you will see the option to sell on the NFT page. With a click, you will be directed to a website where you can display your NFT. Next, you can select which Ethereum tokens to accept as payment. Furthermore, you can either sell at an auction or fixed price. Finally, finish the procedure by checking off the items on the list.
At this point, you have successfully created your first NFT. As a result, you will be able to access your NFT and purchase offers.
It can be challenging to know where to begin when you're just getting started with your NFT project. We hope that this article gives you momentum to kick off and make it big in the NFT world!
Stay updated with news, information, and insights in the crypto space via the CCTIP blog. You can also get an instant CCTIP wallet to benefit from tips, airdrops, and airdrop games. Join our community for more information: Twitter, Telegram, Reddit, Discord